Adding Dictionaries to the Spellchecker
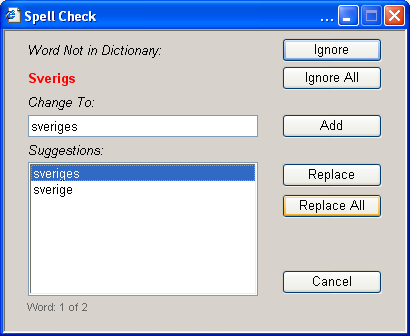
The Sitecore Client implements a built-in spellchecker to help authors in their work (see the illustration below). A number of dictionaries in different languages are preinstalled, but you can also add other dictionaries.
In this article, we will add a Swedish dictionary as an example – you can add any other dictionary in the same way. Please follow the steps below:
- First we need to get a Swedish dictionary. We’ll use the Lingucomponent free dictionaries library to download a Swedish dictionary (it’s actually a wordlist and not a complete OpenOffice dictionary). After the downloading is complete, extract the files from the archive. The archive should contain *.dic and *.aff files.
- Sitecore uses the OpenOffice dictionary format, so we now need to convert the dictionary. There are many free conversion tools available online. In this article, we’ll use the Net Spell Dictionary Build free tool. Below is the list of steps required for conversion:
-
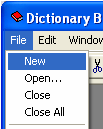
- Start the Dictionary Build application and create a new dictionary (File » New)
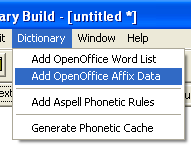
- Add the OpenOffice word list which you downloaded on the first step (this is the .dic file) to the dictionary (Dictionary» Add OpenOffice Word List).
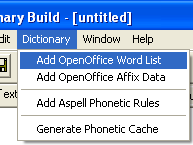

- Add OpenOffice Affix data (the .aff file) to the dictionary (Dictionary» Add OpenOffice Affix Data).

- Select File» Save to save your dictionary. Name it sv-SE.dic. Now you have a dictionary in the required format.
- Start the Dictionary Build application and create a new dictionary (File » New)
- Now you need to add the dictionary to the appropriate language in Sitecore.
-
- All the dictionary files in Sitecore are stored in the bin folder, so you need to copy the sv-SE.dic file there.
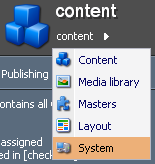
- Start the Content Editor and access the System section:
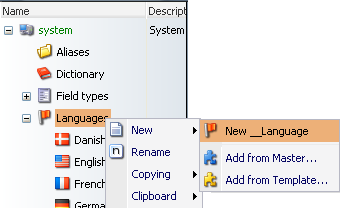
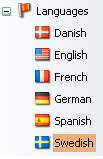
- Select Languages» New » New __Language to create a new language. Enter the name Swedish for the new language.
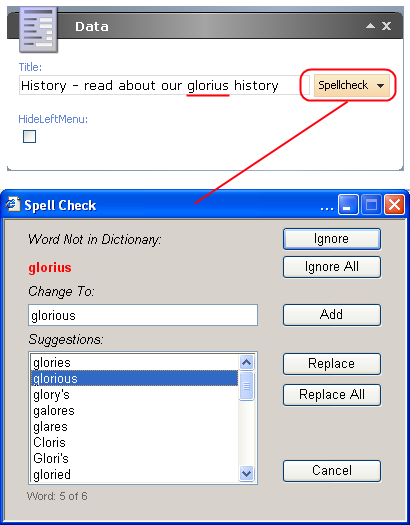
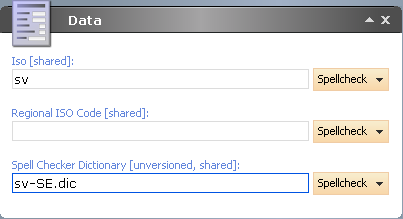
- In the Data section, type sv in the Iso field and sv-SE.dic in the Spell Checker Dictionary field.
- To set an appropriate flag to be displayed along with the language, navigate to the Appearance section and click ‘Open Icon’ next to the icon field.
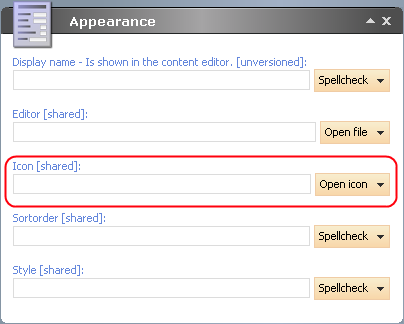
Navigate to the /standard/flags/16x16/ folder and select flag_sweden.png icon. - Click the save button. Now the language is set up and ready to work.
- Go back to the content section.
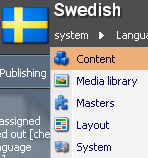
Select an Item and switch to the Swedish language.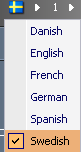
For the purpose of testing, we’ll type the following phrase in the Item's Title field:
Sveriges historia
(which means ‘The history of Sweden’).
Click Spellcheck – no errors will be found.
Change the title to Sverigs histora (‘e’ and ‘i’ are missing). Run the spellcheck and you will be offered to change the words: